Blog
DIY Dip Dye Nails
Saturday, 9th June, 2012

Dip dying has been a big trend this Spring and DIY dip dying has been pretty damn popular especially around fashion/beauty blogging world. I must admit ive been wanting to try it for myself but was a little unsure if the wash out dipped colour’s would suit me so i hid away from grabbing a bottle of clothing dye and a plain white tee (my bad).
However i am a big fan of nail polish! No matter if the latest trend doesn’t suit you or your not brave enough to wear it (mainly the last one) those fashion savvy fingers wriggling at the ends of your hands can pull ANYTHING off! So i thought id put a twist on the dip dye trend and try it on my nails!
Heres how to DIY;
You will need;
Clear top coat
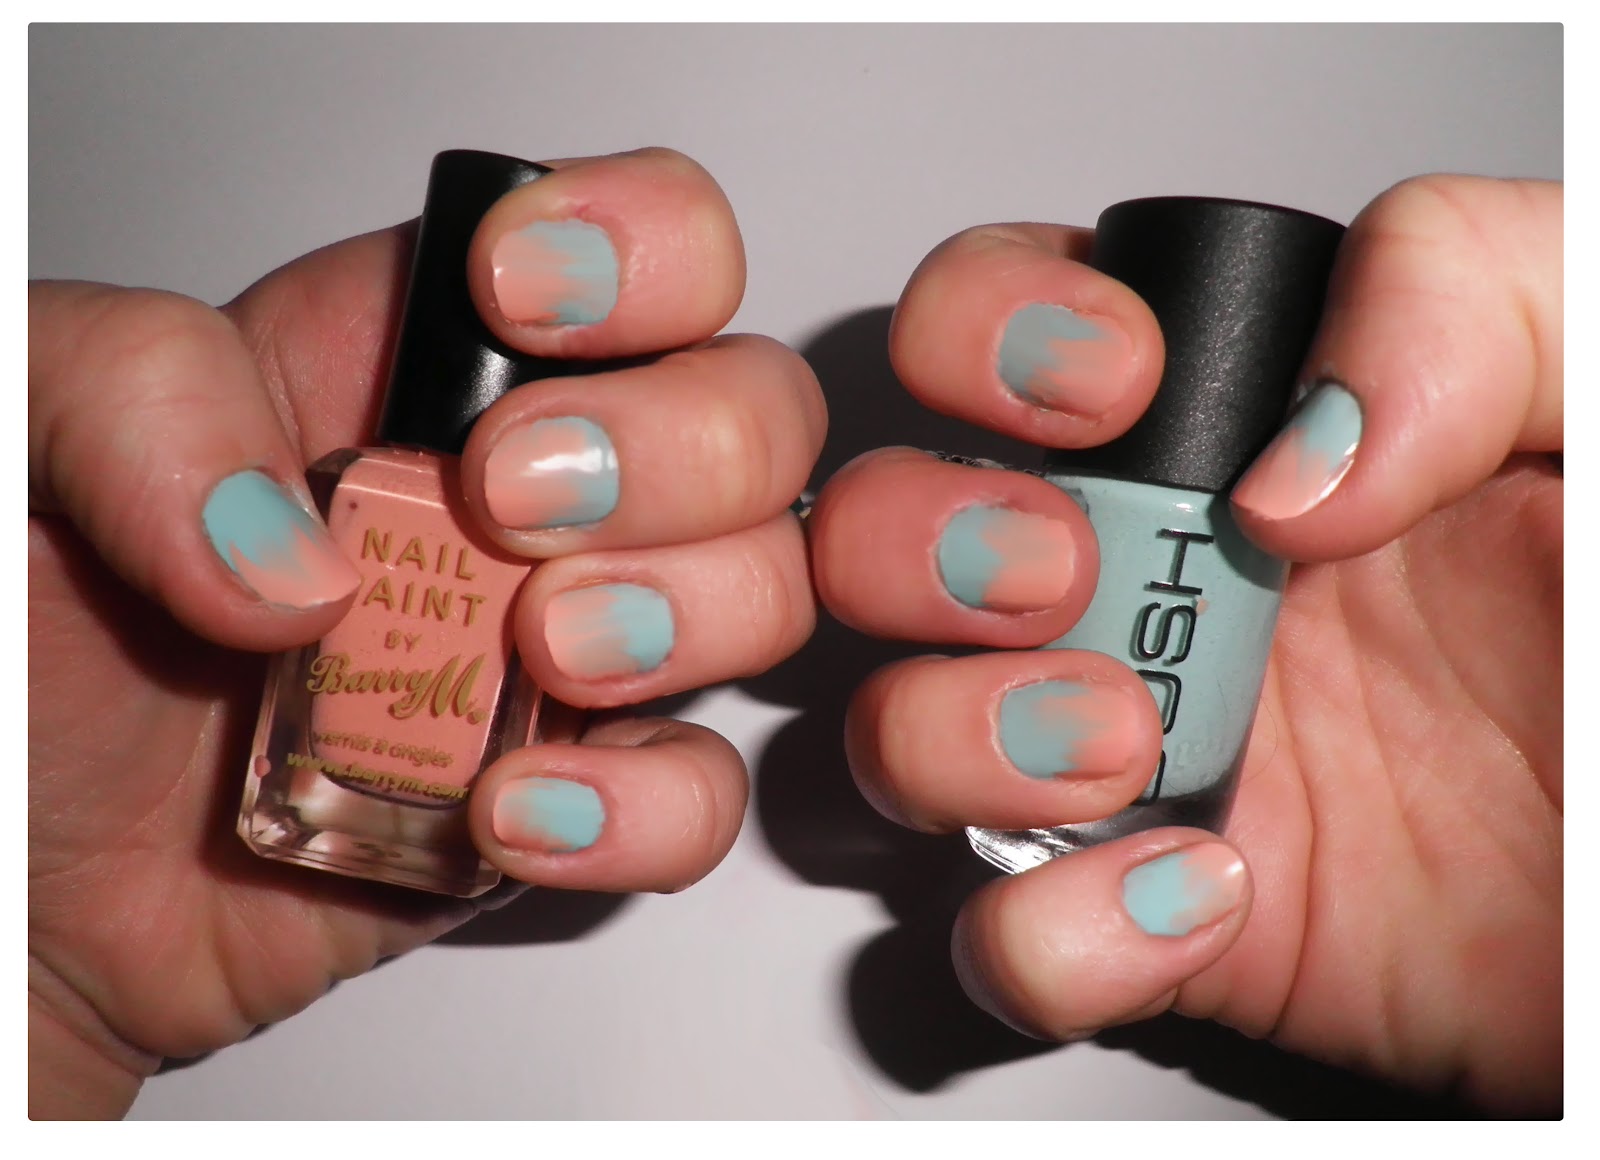
2 colours of nail varnish (I chose my favourites: BarryM Peach Melba & Gosh MissMinty)
1 cotton pad soaked in Acetone Free nail varnish
Fast drying spray (optional)
Step 1. After prepping your nails for a perfect polish and leaving them free of base coat. Add a thick coat of your starter polish on the bottom of your nail only.
Step 2. While the starter polish is still wet add the second polish starting at the tip of the nail (breaking every manicure rule) and brushing down to the middle of the nail to meet the starter polish.
Step 3. Wait around 30 second before blending both colours together by sweeping up and down the middle of the nail only.
Step 4. (An obvious one) Repeat over all the nails.
Step 4. (An obvious one) Repeat over all the nails.
Step 5. (optional) Use fast drying spray if need be to dry quicker & finally when dry lightly swipe over the (acetone free) soaked cotton pad to again bind the colours together that little bit more and smooth out the finish. Following this add a clear top coat and your done!
And taa-dar or taa-dye! (I know, I know)
Im really please with how the nails turned out and looking forward to trying this technique out with a few more colour’s. (Let me know if you try it out, would love to see photo’s!)
Beki Xo